How to Get Pictures From Digital Camera to Phone
In today’s world, digital photography is more accessible than ever, with smartphones and digital cameras allowing us to capture high-quality images with ease. However, one common question that many people face is, how to get pictures from a digital camera to a phone? Whether you’re trying to upload vacation photos or transfer family memories, the process can be simple and quick. This article will guide you through different methods for transferring pictures from your digital camera to your phone, ensuring you can access your photos anytime, anywhere.
How to Get Pictures From Digital Camera to Phone? Before diving into the methods, it’s important to understand why you may want to transfer photos from a digital camera to your phone in the first place. Smartphones are incredibly convenient for sharing, editing, and storing photos on the go. By transferring your photos from your camera to your phone, you can:
- Easily share photos with friends and family through social media, messaging apps, or email.
- Edit and enhance your pictures using smartphone apps, which often have powerful editing features.
- Back up your photos by uploading them to cloud storage or syncing with your phone’s backup system.
Now, let’s look at the different ways you can transfer those images from your digital camera to your phone.

Using a USB Cable with a Phone
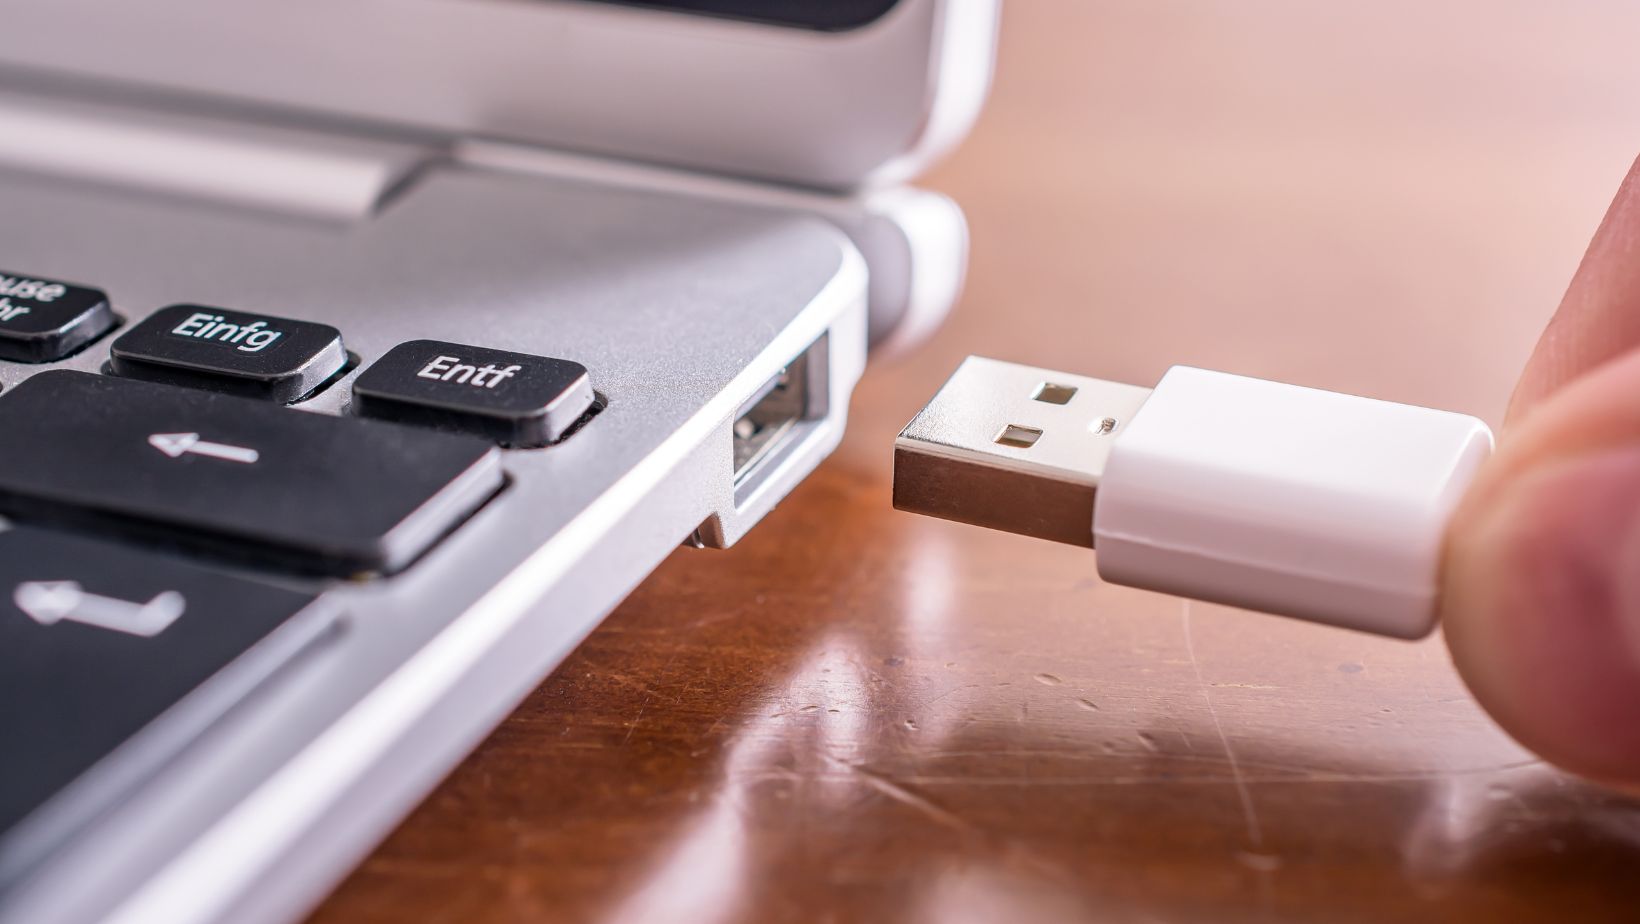
One of the simplest and most direct methods to transfer photos is by using a USB cable and a phone adapter. Here’s how to do it:
Step-by-Step Process:
- Connect the USB Cable to Your Camera: Start by connecting your digital camera to the phone adapter using the camera’s USB cable. Most cameras use a standard micro-USB or USB-C port.
- Attach the Adapter to Your Phone: Insert the phone adapter into your smartphone’s charging port (usually USB-C or Lightning, depending on your phone model).
- Access Your Camera Files: Your phone will prompt you with a notification, asking if you want to import the images from your camera. Choose the “Import” option, and your phone will display the files on your camera.
- Select Photos to Transfer: Select the photos you want to transfer to your phone and choose the “Import” or “Save” option to start the transfer.
- Access Your Photos: Once the transfer is complete, you can find the photos in your phone’s gallery or photo album.
This method is especially useful when you don’t have access to Wi-Fi or Bluetooth and need to transfer a large number of photos quickly.

Using a Memory Card Reader
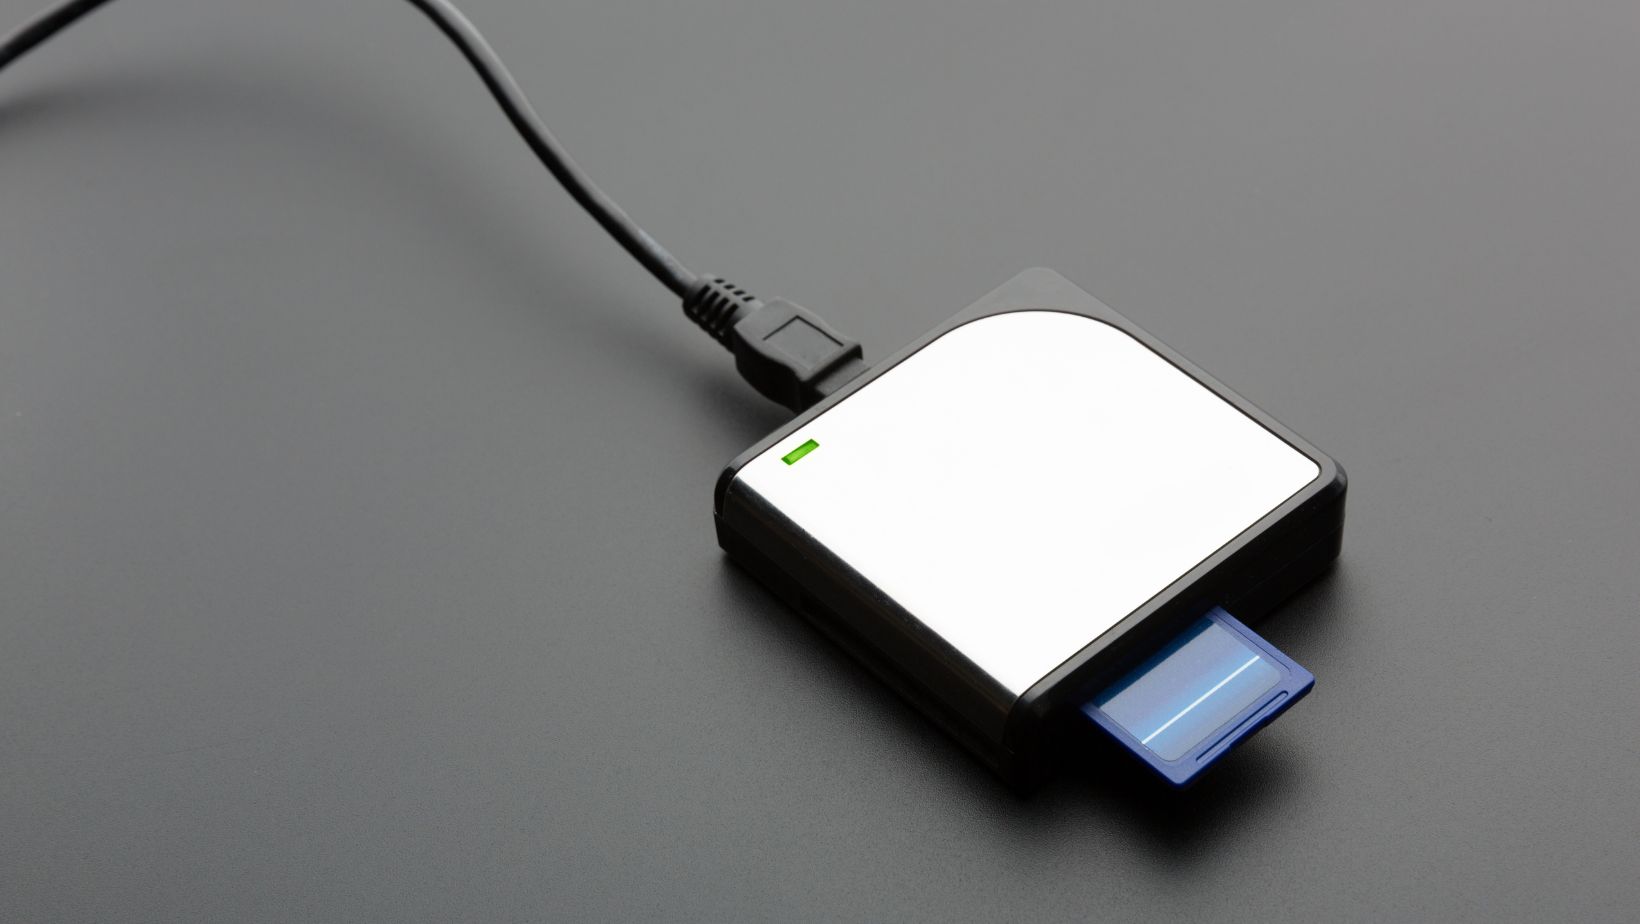
If your digital camera uses an SD card (the most common memory card for cameras), you can use a memory card reader to transfer the pictures to your phone.
Step-by-Step Process:
- Remove the SD Card: Eject the SD card from your digital camera.
- Insert the SD Card into the Card Reader: Use a memory card reader that is compatible with your phone. Some phones may have a built-in card reader, or you can purchase an external one that connects via USB-C or Lightning.
- Connect the Card Reader to Your Phone: Plug the card reader into your phone and wait for your phone to recognize the SD card.
- Transfer the Photos: Your phone will treat the SD card like any other external storage device. Open the file manager on your phone and select the photos you want to transfer.
- Save the Photos: After selecting the photos, save them to your phone’s internal storage or a cloud storage service.
This method is perfect if you’re traveling or out in the field and want to quickly transfer photos without needing a computer.
If your digital camera has Wi-Fi or Bluetooth capabilities, you can easily transfer photos wirelessly to your phone. Many modern cameras come with these features, allowing you to quickly send photos to your phone without the need for cables or card readers.
Step-by-Step Process (Wi-Fi):
- Enable Wi-Fi on Your Camera: Turn on the Wi-Fi feature in your camera’s settings.
- Connect Your Camera to Your Phone: Follow the instructions in your camera’s manual to pair it with your phone. Typically, you’ll need to connect to the camera’s Wi-Fi network or use a dedicated app provided by the camera manufacturer.
- Transfer Photos Using the Camera’s App: Once your camera is connected to your phone, open the associated app and select the photos you want to transfer.
- Save the Photos: Once the photos are transferred, they will be saved to your phone’s gallery or photo album.
There are several effective ways to transfer photos from your digital camera to your phone, whether you prefer using a physical connection (USB, memory card reader) or wireless options (Wi-Fi, Bluetooth, or apps). Each method offers its own advantages, so you can choose the one that works best for your needs. By using one of these techniques, you can easily access, edit, and share your digital photos wherever you go, directly from your phone.

