How to Read Ohms on a Digital Multimeter
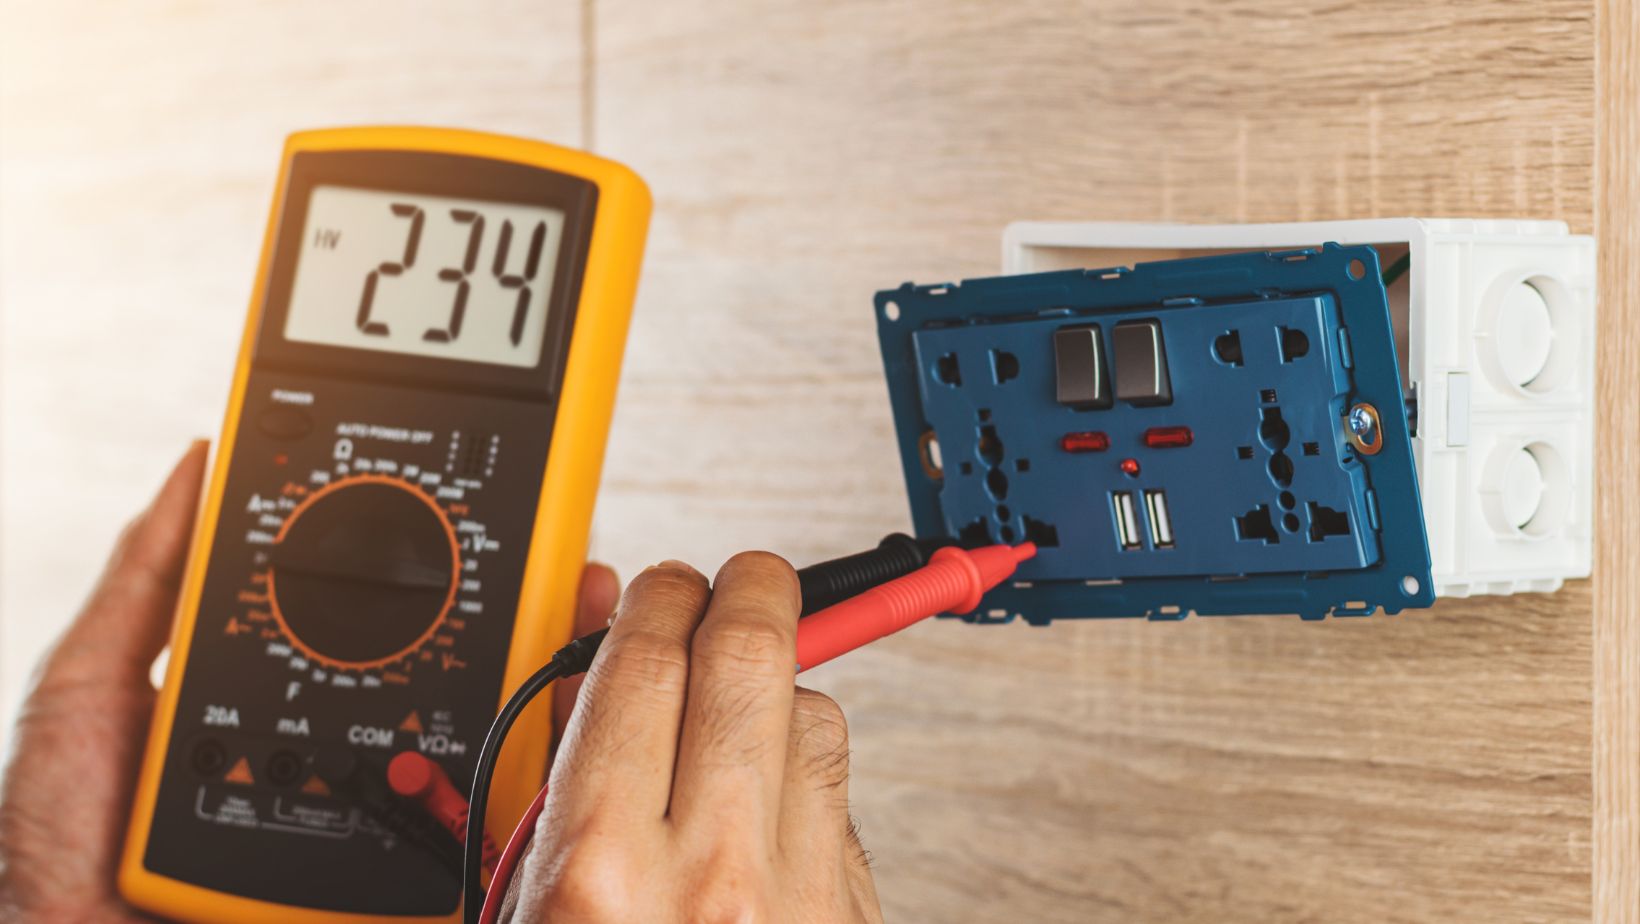
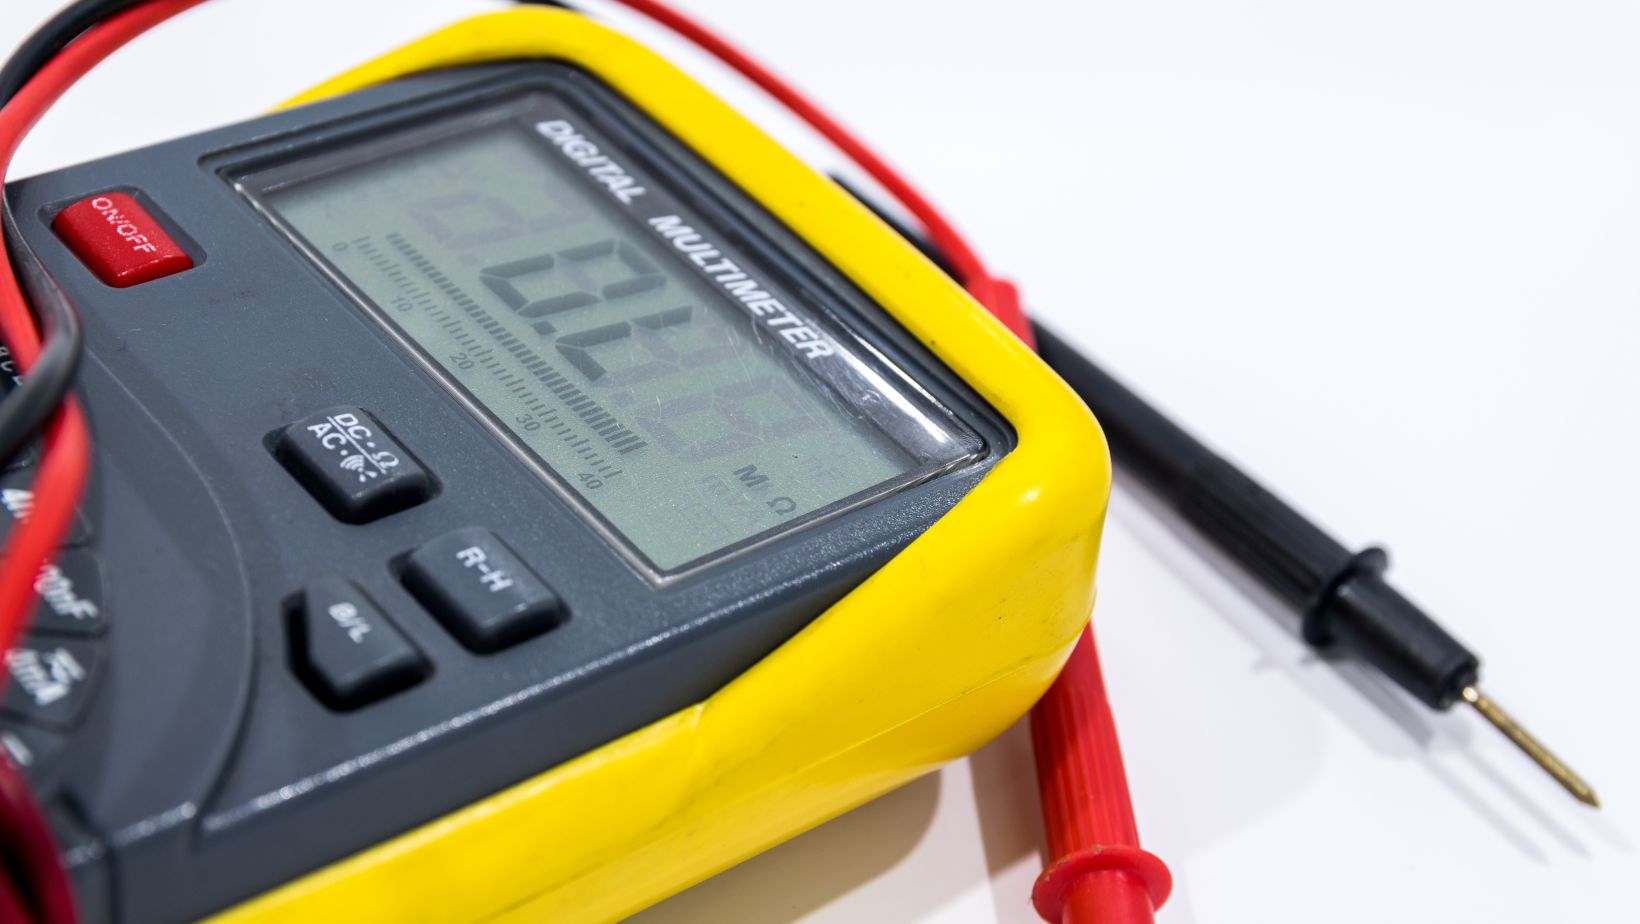
A digital multimeter (DMM) is a versatile tool commonly used for measuring electrical parameters such as voltage, current, and resistance (ohms). If you’re working on electronics or electrical troubleshooting, understanding how to read ohms on a digital multimeter is essential for diagnosing problems like broken circuits or faulty components. In this article, we’ll walk you through the process of measuring resistance and interpreting the readings on your digital multimeter.
Before diving into how to read ohms, it’s important to understand what resistance is. Resistance, measured in ohms (Ω), is a property of a material that resists the flow of electric current. It’s a critical parameter in circuits and components like resistors, capacitors, and conductors. When measuring resistance with a digital multimeter, you’re determining how much opposition to current flow exists in a component or circuit.
The first step to measuring resistance is setting your digital multimeter to the correct mode. Most multimeters have a rotary dial or buttons to select different measurement functions.
How to set up your multimeter:
- Turn the dial to the resistance setting: Look for the symbol “Ω” on the dial. This symbol indicates that the multimeter is in resistance mode.
- Check the leads: Ensure that the multimeter’s test leads are connected properly. Typically, the red lead goes into the voltage (V) and resistance (Ω) socket, while the black lead goes into the common (COM) socket.
- Set the range (if needed): Some multimeters are auto-ranging, meaning they automatically select the appropriate range based on the resistance being measured. However, if your multimeter is manual-range, you’ll need to set the correct range (e.g., 200Ω, 2kΩ, 20kΩ).
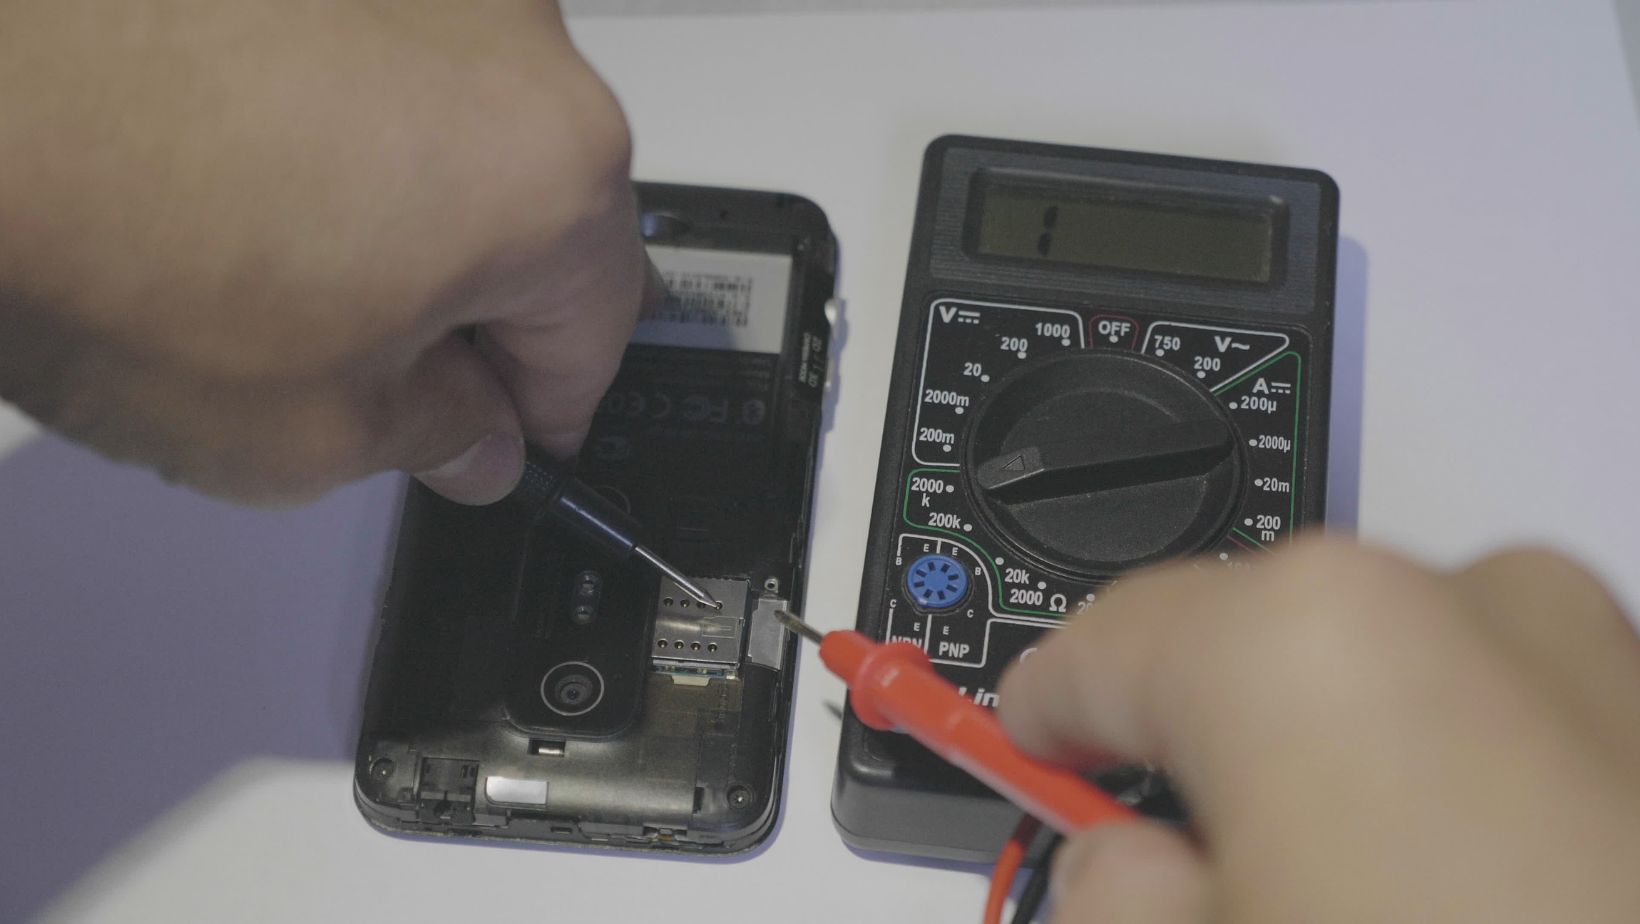
Now that your multimeter is properly set, you can begin measuring resistance. To do so, place the multimeter’s test leads across the two points where you want to measure the resistance. This could be across a resistor, a wire, or a circuit component.
Steps to measure resistance:
- Place the test leads across the component: Touch the red probe to one end of the component and the black probe to the other end. For example, if you’re measuring a resistor, place the probes at each end of the resistor.
- Read the display: The digital multimeter will display the resistance value on the screen. The value could be in ohms (Ω), kilohms (kΩ), or megohms (MΩ), depending on the range and magnitude of the resistance.

Interpreting the Ohm Readings
Understanding how to read the digital display is key to using a multimeter effectively. Let’s look at how to interpret the readings for different resistance values:
Example readings:
- 0Ω to 10Ω: A very low resistance, indicating good conductivity or a short circuit.
- 1kΩ (1000Ω): A moderate resistance, typical for many electronic components.
- 1MΩ (1,000,000Ω): A high resistance, often seen in insulation or some resistors.
- “OL” or “1”: Overload—this indicates that the resistance is too high for the selected range. You will need to switch to a higher resistance range.
Key points to remember:
- Lower resistance means less opposition to current flow (good conductivity).
- Higher resistance means more opposition to current flow (poor conductivity or insulation).

Troubleshooting with Resistance Measurements
Measuring resistance with a digital multimeter can help you diagnose problems in circuits and components. Here are a few scenarios where measuring resistance can be useful:
1. Testing Resistors: To verify whether a resistor is functioning correctly, measure its resistance. Compare the reading with the resistor’s rated value (often printed on the component). If the reading is significantly different from the expected value, the resistor might be damaged.
2. Checking for Short Circuits: A very low resistance reading (close to 0Ω) between two points in a circuit indicates a short circuit. This could be due to damaged wires or a fault in a component, allowing current to flow where it shouldn’t.
3. Testing for Open Circuits: If the multimeter displays “OL” or a high resistance value when measuring between two points that should be connected, it may indicate an open circuit, such as a broken wire or faulty connection.
Knowing how to read ohms on a digital multimeter is an invaluable skill for anyone working with electronics, whether you’re troubleshooting circuits, testing components, or conducting routine maintenance. By following the steps outlined in this guide, you can confidently measure resistance, interpret the readings, and use your multimeter effectively. With practice, you’ll quickly become proficient in using a multimeter to diagnose electrical issues and ensure that your circuits are functioning properly.

